Table of Contents
- Supermoto Suspension vs Motocross Suspension: Core Differences
- Wheel Size, Braking, and Geometry Changes
- Re-Valving Suspension for Supermoto: What Actually Changes
- Supermoto Suspension Setup Guide: Sag, Preload, and Damping
- Lowering Link for Supermoto: Ride Height and Handling Effects
- DIY Re-Valving vs Professional Suspension Work
- Conclusion
- Frequently Asked Questions
Last Updated: September 30, 2026
Supermoto Suspension vs Motocross Suspension: Core Differences
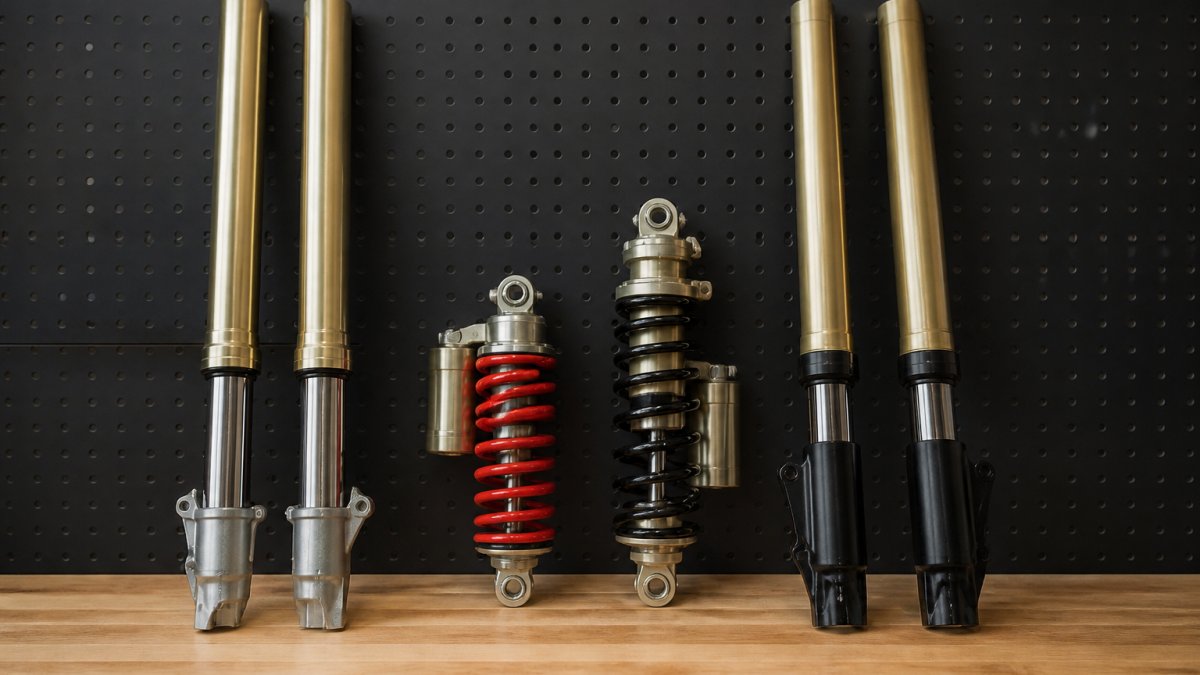
A supermoto bike and a motocross bike can share the same frame, engine, and rider, but their suspension solves opposite problems. Motocross suspension absorbs big, square-edged hits on soft dirt; supermoto suspension keeps a tire planted on asphalt while the bike leans hard into a corner. That difference drives spring rates, valving, wheel size, and geometry. This guide from Supermoto wheels and tires breaks down the supermoto vs motocross suspension difference so you know what to change and why.
Spring Rates and Stiffness
Spring rate is the force needed to compress a spring a set distance. Motocross springs are soft because dirt absorbs energy and the bike floats over ruts. On asphalt, that soft spring lets the front end dive and the chassis wallow.
Valving and Damping Circuits
Valving controls how fast the fork and shock move through their stroke. A dirt bike’s valving lets oil flow quickly on small chop; on the street, that same valving feels vague and uncontrolled at speed.
Wheel Size, Braking, and Geometry Changes
Wheel size is the most visible difference between a motocross bike and a supermoto, but it also rewrites your chassis geometry. Motocross bikes run a 21-inch front and 18- or 19-inch rear; supermoto bikes run 17-inch wheels front and rear. Dropping the front wheel diameter by four inches lowers the front and shortens the tire’s contact patch arc, which is why supermoto bikes turn so quickly.
|
Change |
Motocross Setup |
Supermoto Setup |
Why It Matters |
|---|---|---|---|
|
Front wheel |
21-inch |
17-inch |
Quicker steering, wider tire |
|
Rear wheel |
18/19-inch |
17-inch |
Lower seat height, better grip |
|
Front brake |
Small rotor |
320mm rotor + radial caliper |
Stronger stopping power |
|
Spring rate |
Soft |
Stiffer |
Resists brake dive |
|
Travel |
Long |
Reduced |
Lower center of gravity |
Rake, Trail, and Why They Change
Rake is the angle of the steering axis from vertical. Trail is the distance between where the steering axis hits the ground and where the front tire’s contact patch sits. More trail means more self-centering stability at speed. Less trail means quicker steering but less stability.
Triple Clamp Offset: The Adjustment Most Riders Miss
Triple clamp offset is the horizontal distance between the fork tubes and the steering stem. It’s built into the clamps and not adjustable on every bike, but on bikes with adjustable or interchangeable clamps it’s one of the most powerful geometry tools available.
The Safety Side of Geometry
Improper geometry isn’t just a handling preference. Too little trail produces a vague front end that can develop into a tank-slapper or “death wobble” at speed, where the bars oscillate violently from lock to lock. This is more likely on a converted dirt bike because the stock geometry was designed around a 21-inch front wheel and long-travel forks.
Ride Height and the Front-to-Rear Balance
Geometry is a system, not a single number. Changing rear ride height with a lowering link or shock spacer changes rake and trail as much as changing the front: drop the rear and the front steepens; raise the rear and the front relaxes. Always set ride height front and rear together, and re-check sag after any geometry change.
Re-Valving Suspension for Supermoto: What Actually Changes
Re-valving suspension for supermoto means changing the shim stack inside the fork and shock so damping matches asphalt instead of dirt. The shim stack is a set of thin metal discs that flex to control oil flow; change the stack and you change how the suspension behaves.
Supermoto Suspension Setup Guide: Sag, Preload, and Damping
Most supermoto suspension articles stop at “set your sag.” The actual process is a sequence, and skipping a step builds the rest of your tuning on a bad baseline. Here’s the order that works, with the numbers you need to measure.
Step 1: Measure Static and Rider Sag
Sag is how much the suspension compresses under load. You measure it in two states:
- Static sag (free sag): the bike sitting under its own weight, no rider.
- Rider sag (race sag): the bike with you in your normal riding position, full gear, feet on the pegs.
Step 2: Set Preload to Hit the Target
Preload is the initial tension on the spring, adjusted with the shock’s threaded collar or a fork cap spacer. Preload does not change the spring rate. It changes ride height and where in the stroke the suspension sits.
Step 3: Tune Damping One Clicker at a Time
Only after sag and preload are set do you touch compression and rebound. Start from the manufacturer’s stock clicker positions, change one adjuster at a time, and test on the same stretch of road or corner.
- Low-speed compression: controls brake dive and how the front settles into a corner. Too little and the fork dives and the bike runs wide. Too much and the front skips over small bumps.
- High-speed compression: controls sharp hits like expansion joints and curbs. This is where a dirt-derived fork often feels harsh on pavement until it’s re-valved.
- Rebound: controls how fast the suspension extends after a bump. Too slow and the bike packs down over a series of bumps. Too fast and the rear kicks and the tire loses contact.
Street Setup vs Track Setup
The same bike needs two different setups depending on where you ride.
|
Parameter |
Street Setup |
Track Setup |
|---|---|---|
|
Rider sag (rear) |
30-35 mm |
25-30 mm |
|
Spring rate |
Stock or one step up |
One to two steps up |
|
Low-speed compression |
Softer |
Firmer |
|
Rebound |
Slightly slower |
Faster |
|
Priority |
Comfort, stability |
Turn-in, feedback |
Lowering Link for Supermoto: Ride Height and Handling Effects
A lowering link for supermoto changes rear ride height and, with it, the bike’s geometry. The link sits in the rear suspension linkage and changes the ratio between shock travel and wheel travel: a longer link lowers the rear, a shorter one raises it.
DIY Re-Valving vs Professional Suspension Work
DIY re-valving is cheaper and teaches you how your suspension works; professional work is faster and usually gets a better result on the first try. The right choice depends on your tools, patience, and how much you value track time.
|
Factor |
DIY Re-Valving |
Professional Work |
|---|---|---|
|
Cost |
Lower, tools only |
Higher, labor included |
|
Time |
A weekend or more |
Days to weeks |
|
Result |
Good with practice |
Consistent, tested |
|
Best for |
Street builds, learning |
Race bikes, first-timers |
|
Risk |
Setup errors |
Fewer, but scheduling delays |
Conclusion
Getting the supermoto vs motocross suspension difference right separates a bike that feels sketchy on pavement from one that feels planted and fast. It comes down to stiffer springs, re-valved damping, shorter travel, and geometry that matches 17-inch wheels and stronger brakes.
Frequently Asked Questions
What is the main difference between supermoto and motocross suspension?
Supermoto suspension is stiffer and tuned for asphalt, while motocross suspension is softer for dirt absorption. Spring rates increase to handle higher cornering forces, and valving is adjusted to control damping on smooth pavement. Travel is often reduced to lower the center of gravity. These changes improve tire contact patch and stability at speed.
Do I need to re-valve my suspension for supermoto?
Yes, re-valving is highly recommended for supermoto because stock motocross valving cannot manage the higher damping forces on asphalt. Re-valving suspension for supermoto involves changing the shim stack and oil viscosity to increase compression and rebound damping. This prevents bottoming under hard braking and improves cornering stability. Without it, the bike may feel harsh or unpredictable. Professional kits like Race Tech Gold Valve are designed for this purpose.
Can I use motocross suspension for supermoto racing?
You can, but it will be compromised. Motocross suspension is too soft and lacks the damping control needed for asphalt. You may experience excessive dive, poor feedback, and bottoming. For casual riding, stiffer springs and adjusted clickers might suffice. For racing, a full re-valve and spring change are necessary. Upgrading to specialized components can provide better performance.
How does a lowering link affect supermoto handling?
A lowering link for supermoto reduces rear ride height, which lowers the center of gravity and can improve stability and corner entry. However, it also changes suspension geometry, reducing travel and potentially causing the rear to bottom out. It’s best used with stiffer springs and re-valved damping. For track use, many riders prefer to maintain stock height and adjust sag instead. Always test changes gradually.
What sag and preload settings should I use for supermoto?
For supermoto, start with 25-30mm of rear sag and 30-35mm of front sag. This is stiffer than typical motocross settings (30-35mm rear, 35-40mm front). Preload should be adjusted to achieve these sag numbers with the rider on board. Proper sag ensures the suspension works in the right part of the stroke. Fine-tune compression and rebound damping after setting sag. Refer to your suspension manual for specific adjustment ranges.