Last Updated: November 4, 2026
Quick Summary
To maintain supermoto wheel bearings, check them for roughness and play before every tire change and after any wet or muddy ride, then clean and repack smooth bearings with waterproof grease. Replace any bearing that feels rough, has play, or shows rust, since grease will not fix a damaged bearing.
- Lift the bike, grab the tire top and bottom, and push and pull to feel for bearing play.
- Pry out dust seals gently around the edge so you do not gouge the hub bore.
- Skip the pressure washer near the hub because high-pressure water pushes past the dust seal.
- Check front and rear bearings after every muddy ride and at each tire change.
- Press or tap bearings in by the outer race only to avoid damaging them.
Table of Contents
- How to Check Motorcycle Wheel Bearings
- Motorcycle Wheel Bearing Symptoms
- How to Grease Motorcycle Wheel Bearings
- How Often to Inspect Motorcycle Wheel Bearings
- When to Replace Rather Than Regrease Supermoto Wheel Bearings
- Bearing and Seal Compatibility for Supermoto Wheels
- Installation Technique and Failure Prevention
- Shop Supermoto Wheel Bearings and Components
- Frequently Asked Questions
How to Check Motorcycle Wheel Bearings
Knowing how to maintain supermoto wheel bearings starts with a simple truth: a worn bearing rarely fails without warning. It grinds, it wobbles, it lets grit in. Catch it early and you save a hub. Miss it and you replace a wheel. The good news is that this check takes minutes.
Motorcycle wheel bearing inspection is the process of checking a wheel for roughness, play, and seal damage before those problems reach the hub. You spin the wheel, feel for grit, and rock it side to side.
Here is a check worth doing before every tire change and after any wet or muddy ride.
Roughness and Play Test
Lift the bike so the wheel spins free. Grab the tire at the top and bottom, then push and pull. Any click or side-to-side movement means bearing play. Spin the wheel slowly and listen. A rough, gritty, or rumbling feel points to bearing wear inside the hub. A smooth bearing turns quietly with almost no drag.
Removing the Wheel and Axle Spacers
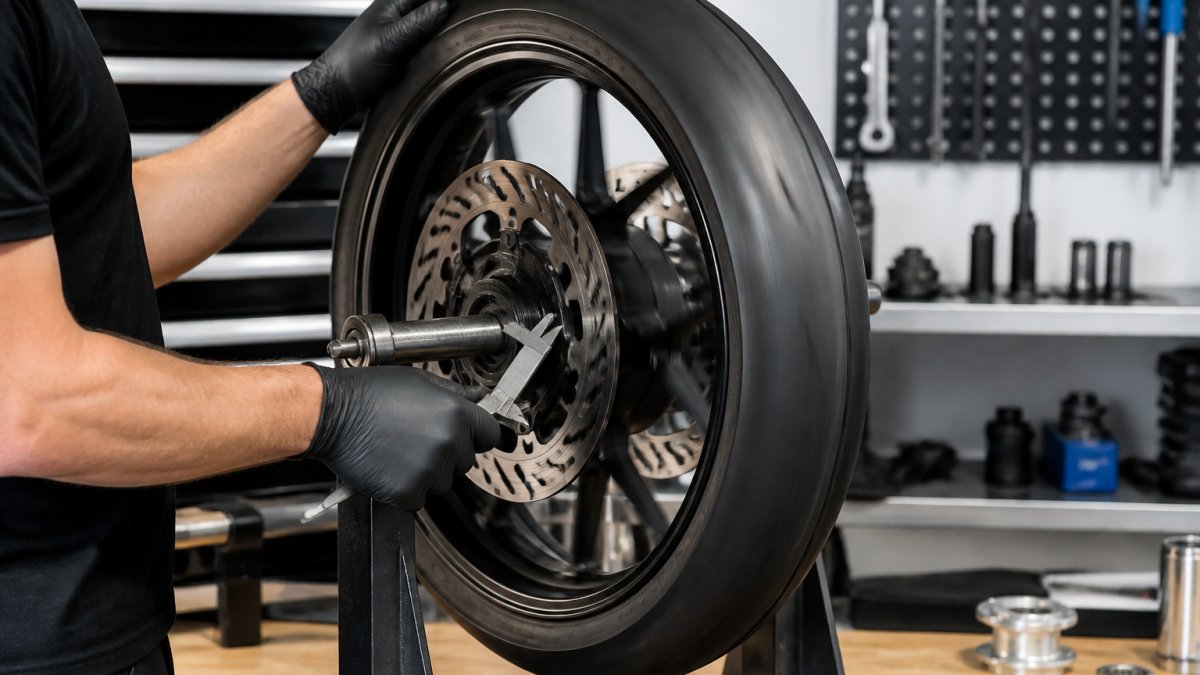
Pull the axle and slide out the axle spacers. Keep them in order, because left and right often differ. Set the wheel on a clean bench and note which side the dust seals face. A common mistake is losing a spacer on the shop floor and reinstalling the wheel misaligned.
Removing Dust Seals
Pry out the dust seal gently with a flat tool. Work around the edge, not straight down, so you do not gouge the hub bore. Once the rubber seal is out, you can see the bearing outer face and check it directly.
Motorcycle Wheel Bearing Symptoms
What are the signs of a failing wheel bearing? The most common motorcycle wheel bearing symptoms are a rumbling noise that rises with speed, side-to-side wheel play, and a gritty feel when you spin the wheel by hand. Rust streaks or a torn dust seal usually confirm water intrusion.
Watch for these before they get worse:
- A grinding or humming noise that changes with speed
- Wheel play you can feel by hand
- Grit or roughness when spinning the wheel
- A torn or missing dust seal
- Rust or muddy water around the bearing
Diagnosing Related Wheel Problems
Not every wobble comes from a bearing. Worn sprockets, loose spokes, and unbalanced wheels cause similar symptoms. If you also hear a rhythmic clunk under load, check your drivetrain before you blame the hub. Our guide to signs your supermoto sprockets need replacing helps you tell the two apart so you do not replace the wrong part.
How to Grease Motorcycle Wheel Bearings
Greasing only works on bearings that still turn smoothly. If the bearing is rough or has play, grease will not fix it. To grease motorcycle wheel bearings, clean the old grease out, pack fresh waterproof bearing grease between the rollers, and reseat the seal.
Safe Cleaning and Regreasing Limits
Skip the pressure washer near the hub. High-pressure water pushes past the dust seal and starts the corrosion that ruins bearings. Use controlled rinsing and a rag instead.
Watch out: overpacking grease can pop the seal out and let dirt in. Fill the bearing, not the whole hub cavity.
How Often to Inspect Motorcycle Wheel Bearings
There is no universal mileage number, and any guide that gives one is guessing. Use your owner’s or shop manual for the interval, then shorten it if you ride wet or muddy. How often to inspect motorcycle wheel bearings depends on conditions, not just miles.
Supermoto-Specific Service Intervals
Supermoto riding mixes street speed with dirt and water. That combination wears bearings faster than either alone. Checking front and rear bearings after every muddy ride and at each tire change is a sensible habit. The front takes more spray from the road; the rear takes more grit from the drive side.
Riding Condition | Inspection Timing | Main Risk |
|---|---|---|
Dry street only | At each tire change | Slow wear |
Mixed street and dirt | Every few rides | Water intrusion |
Regular wet or muddy rides | After each wet ride | Corrosion and grit |
Track days | Before each event | Heat and load |
When to Replace Rather Than Regrease Supermoto Wheel Bearings
Replace, do not regrease, when you feel roughness, play, or see rust. A sealed bearing that has taken on water is already damaged inside. Repacking buys weeks, not seasons. Before spending on replacement bearings, readers can review motorcycle parts warranty and return policies.
Bearing and Seal Compatibility for Supermoto Wheels
Bearings and seals must match your hub bore and axle size exactly. A seal that fits loosely lets water straight in. Before ordering, confirm your wheel set fits your bike.
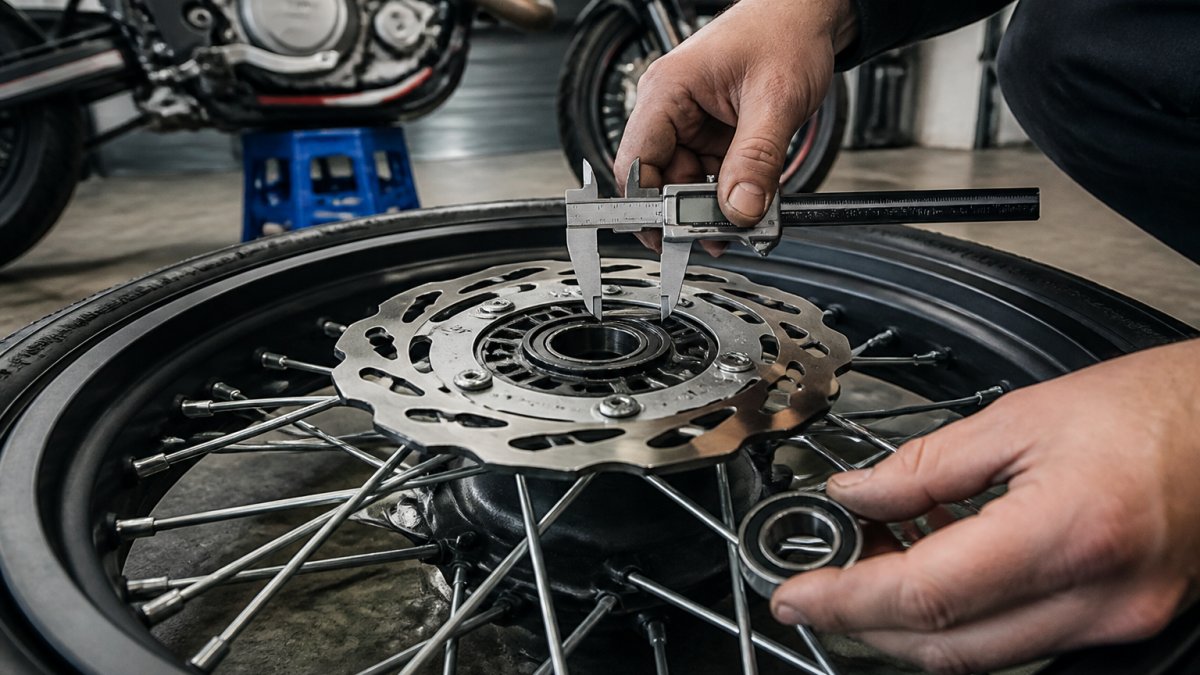
Start by identifying the bearing number stamped on the old bearing’s seal or outer race, typically a four- or five-digit code that encodes bore, outer diameter, and width. Cross-reference that number against your wheel manufacturer’s parts diagram or service manual, not against a generic ‘supermoto bearing kit’ listing. Many hubs use a common bearing size on one side and a different size on the other, so confirm both positions before you buy.
Seal compatibility is just as critical. Dust seals are sized to the hub bore and the axle or spacer diameter, and a seal that is even a fraction of a millimeter too loose will pass water and grit. Measure the old seal’s outer diameter and inner diameter with calipers, or read the size molded into the seal lip. If the hub bore is worn, scored, or out of round, a new bearing will not seat true and will fail early, in that case, the hub needs repair or replacement before new bearings go in.
Watch out: mixing bearing brands or seal types across the same axle can create mismatched fit and preload, so replacing both bearings and both seals as a set is a sound practice even if only one side feels rough.
Best for: riders running stock hubs who want a direct-fit bearing and seal kit matched to the manufacturer’s part numbers. Skip if: your hub bore is worn or scored, since a new bearing will not seat true and a fresh seal will not seal against a damaged bore.
Installation Technique and Failure Prevention
Press or tap bearings in by the outer race only. Hitting the inner race sends shock through the balls and damages them before the wheel turns. Seat the bearing square, then fit a fresh dust seal with a thin film of grease on the lip. Spin the wheel and recheck for play before you torque the axle to your manual’s spec.
Work on a clean, flat surface and support the hub so the bearing starts straight. A bearing driver or a socket that contacts only the outer race is the right tool; a punch or screwdriver walked around the inner race will cock the bearing and brinell the races. Press until the bearing seats fully against its shoulder, a partially seated bearing will develop play and destroy the seal. Install the second bearing from the opposite side using the same outer-race-only contact, and never pull the bearing into place by its inner race.
Seal installation is where many home mechanics lose the battle. Lubricate the seal lip and the bore with a thin film of waterproof grease, then press the seal in squarely with a seal driver or a flat plate. A seal driven in at an angle will leak and let water past within a few rides. Confirm the seal sits flush with the hub face and that the lip faces the correct direction, most dust seals have a marked side that must face outward.
Spacers and axle hardware must go back in the same order they came out. Left and right spacers often differ in length, and swapping them misaligns the wheel and side-loads the bearings. After reassembly, torque the axle to the figure in your service manual, then check for free rotation, side-to-side play, and correct wheel alignment before you ride. A wheel that spins freely but shows play at the rim usually has a mis-seated bearing or a missing spacer, not a bad bearing.
Watch out: pressing a bearing by its inner race, or driving a seal in crooked, are the two most common installation failures, both damage new parts before the wheel ever turns.
Shop Supermoto Wheel Bearings and Components
Fresh bearings, quality seals, and the right waterproof grease keep your wheels turning smooth. Supermoto wheels and tires offers conversion kits and wheels for riders building or rebuilding a bike. For current inventory, visit the website.
Frequently Asked Questions
How do you maintain wheel bearings?
Maintain wheel bearings by inspecting them regularly for roughness, play, and seal damage. Clean the hub and axle spacers, then repack with waterproof grease if the bearings are in good condition. Replace bearings that show wear, corrosion, or excessive play. Always follow your owner’s manual for service intervals.
Is it okay to spray WD-40 on bearings?
No, avoid spraying WD-40 or similar solvents directly on sealed bearings. These products can break down the grease and damage the seals, leading to water intrusion and premature failure. Use only a dedicated bearing grease when repacking, and keep cleaning products away from the bearing seals.
How long should motorcycle wheel bearings last?
Motorcycle wheel bearings often last a long time under normal conditions, but supermoto riding in wet or muddy environments can shorten that lifespan. Regular inspection and proper greasing help extend bearing life. Replace them at the first sign of roughness, play, or seal damage.
Can you clean and regrease sealed motorcycle wheel bearings?
Sealed motorcycle wheel bearings are generally not designed to be cleaned and regreased. The seals keep contaminants out and grease in, and prying them open can compromise that barrier. If a sealed bearing feels rough or has play, replace it. Only regrease bearings that are designed with serviceable seals and only if the manufacturer allows it.
Your bearings take a beating every time you ride, and the check takes less time than a coffee break. Do not wait for the grind. Supermoto wheels and tires carries the bearings, seals, and conversion kits to keep your build rolling, backed by our specialized supermoto conversion kits and a deep inventory of motocross racing wheels and components. Get started with Supermoto wheels and tires and ride with confidence.
