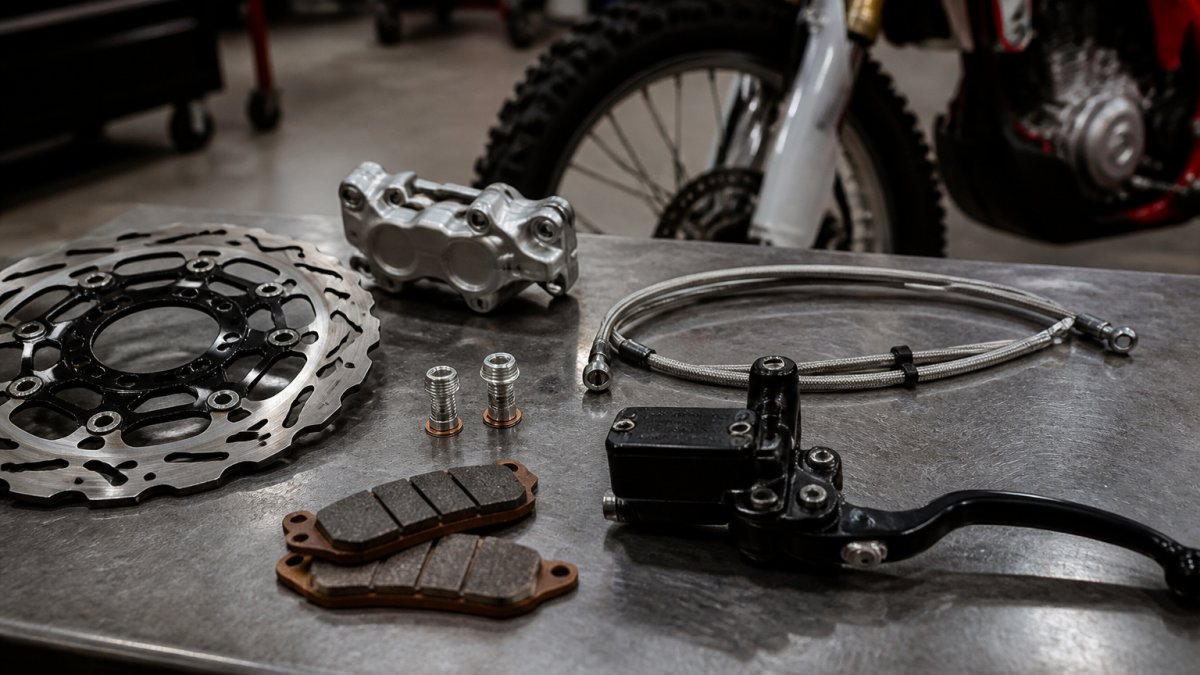
Table of Contents
- Quick Comparison: Motocross Brake Upgrades
- Best Motocross Brake Pads for Racing
- Oversized Brake Rotor Kit Benefits
- Is a Stainless Steel Brake Line Worth It?
- Master Cylinder and Caliper Upgrades
- Brake Fade Prevention and Bedding-In Procedures
- Matching Brake Upgrades to Rider Skill and Terrain
- Conclusion
- Frequently Asked Questions
Last Updated: October 2, 2026
Quick Comparison: Motocross Brake Upgrades
High performance motocross brake upgrades are component changes that increase stopping power, improve lever feel, and resist heat buildup during repeated hard braking. This guide breaks down the parts that matter, from pads to master cylinders, and shows you which upgrades fit your skill level and terrain.
| Upgrade | Typical Impact | Difficulty | Best For |
|---|---|---|---|
| Sintered brake pads | High bite, heat resistance | Easy | Almost every rider |
| Oversized rotor kit | More use, better cooling | Moderate | Racers, heavy bikes |
| Stainless braided lines | Firmer lever, less flex | Easy | Spongy lever feel |
| Master cylinder swap | Better modulation | Advanced | Experienced racers |
| Caliper upgrade | Maximum stopping power | Advanced | Competitive racing |
Best Motocross Brake Pads for Racing
The best motocross brake pads for racing use a sintered metallic compound, which holds friction at high temperatures where organic pads fade. If you race, sintered is the starting point, not an upgrade.
Sintered vs. Organic Compounds
Sintered pads are made from metallic particles fused under heat and pressure. They resist fade, shed water well, and last longer under hard use. Organic pads use resin binders and softer materials, which makes them quieter and gentler on rotors but prone to glazing when they get hot.
Bed new pads in before you judge them. A common mistake is bolting on sintered pads and hitting the track cold. Run several moderate stops from speed to build a transfer layer on the rotor face. Skip this and the pads will feel wooden and wear unevenly.
Oversized Brake Rotor Kit Benefits
An oversized brake rotor kit increases the rotor diameter, which gives the caliper more mechanical advantage and more surface area to shed heat. The result is stronger stopping power with less lever effort and slower heat buildup. That is the simple version. The useful version explains why diameter matters, what changes when you go bigger, and when a bigger rotor is the wrong answer.
Why Diameter Changes Everything
Braking force at the wheel is a function of lever arm. Move the caliper farther from the axle and the same hydraulic pressure produces more torque. A larger rotor also has more mass and more surface area, so it absorbs and radiates heat faster. On a long moto with repeated hard braking zones, that extra thermal capacity is what keeps lap times consistent instead of fading on lap three.
Rotor Thickness, Wear, and Pad Matching
Diameter is only half the story. Rotor thickness determines how much material the pads have to bite into and how much heat the disc can absorb before it warps. Sintered metallic pads wear rotors faster than organic compounds, so a rotor rated for metallic pads is not optional, it is the difference between a disc that lasts a season and one that develops grooves and thickness variation in a few rides.
Floating vs. Solid Rotor Designs
Floating rotors mount the friction ring to a separate carrier with buttons or bobbins, letting the disc expand as it heats. That keeps the rotor true under heavy use and reduces drag. Solid rotors are one piece, cheaper, and simpler, but they can warp when pushed hard.
Terrain and Skill: When a Big Rotor Helps, and When It Hurts
This is where most guides stop short. A larger rotor is not automatically better.
- Hard-packed, fast tracks with long braking zones: An oversized floating rotor paired with sintered pads is the right call. The extra thermal mass and cooling area pay off.
- Muddy, wet, technical tracks: A huge rotor can collect mud and debris, and the aggressive initial bite of a big-rotor setup makes low-traction braking harder to modulate. Many riders on these surfaces prefer a stock-diameter rotor with sintered pads and braided lines.
- Beginners: An oversized rotor on a stock master cylinder can feel grabby and overboosted. The rider fights the brake instead of using it. Start with pads and fluid, then add diameter once you can consistently use full braking without locking the front.
- Heavy bikes and heavier riders: More mass means more kinetic energy to convert to heat. Here the oversized rotor’s thermal capacity is a genuine safety margin, not a luxury.
Before buying an oversized kit, measure your current rotor diameter and confirm the new rotor clears the fork legs, caliper bracket, and wheel spokes at full compression. Clearance issues show up at the worst possible moment.
Is a Stainless Steel Brake Line Worth It?
Yes, a stainless steel brake line is worth it for most riders. Braided steel lines with a Teflon inner liner stop the hose from expanding under hydraulic pressure, so more of your lever force reaches the caliper instead of bulging the rubber.
Master Cylinder and Caliper Upgrades
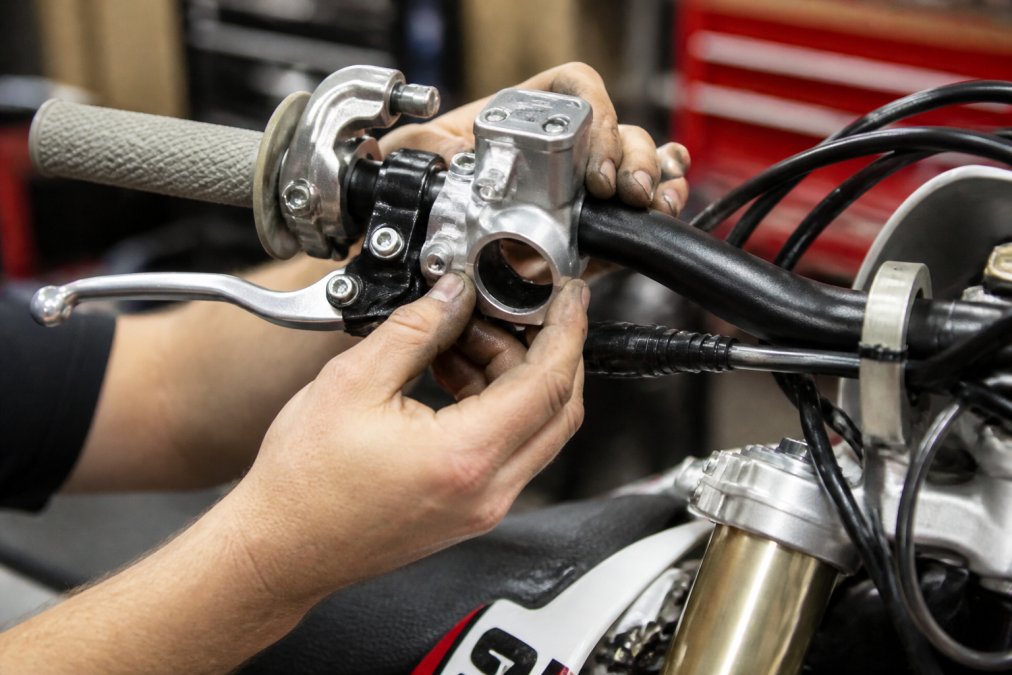
A master cylinder upgrade changes how hydraulic pressure builds, which directly affects lever pull and modulation. A larger bore moves more fluid for a given stroke, giving a firmer lever, while a smaller bore increases mechanical advantage for more power with less effort. That trade-off is the whole game, and getting it wrong is why so many riders bolt on a bigger master cylinder and hate the result.
Bore Size, Lever Ratio, and Feel
The master cylinder bore and the caliper piston area together set the system’s hydraulic ratio. A smaller master cylinder bore relative to the caliper pistons produces more clamping force for the same lever pull, but it requires more lever travel. A larger bore produces a firmer, shorter lever with less travel but less mechanical advantage.
Caliper Upgrades: Pistons, Rigidity, and Pad Area
Caliper upgrades matter just as much. More pistons spread clamping force across a wider pad area, and stiffer caliper bodies flex less under pressure. That rigidity is what separates a vague lever from one that talks to you. A caliper that flexes under load wastes lever travel on bending metal instead of stopping the bike.
Matching the System to Your Skill Level
This is the part most guides skip. The right master cylinder and caliper combo depends on how you ride, not on what looks best in a product photo.
- Beginners and trail riders: Keep the stock master cylinder and caliper. Upgrade pads, fluid, and lines first. A stock hydraulic ratio is forgiving and teaches good lever control.
- Intermediate riders chasing lap times: A modest master cylinder change paired with braided lines and sintered pads can sharpen feel without making the brake twitchy. The goal is consistency, not maximum bite.
- Advanced racers: A matched master cylinder and caliper package, often with a floating rotor and high-temp fluid, is worth the investment. At this level, modulation under trail braking is the difference between making a pass and washing the front.
Compatibility and Installation Notes
- Confirm the master cylinder bore and the caliper piston area are designed to work together. Mixing brands without checking the hydraulic ratio is a common mistake.
- Brake fluid type matters. DOT 4 and DOT 5.1 are glycol-based and can be mixed in an emergency; DOT 5 is silicone-based and must never be mixed with the others.
- After any master cylinder or caliper swap, bleed the system completely. Air trapped in the caliper or line ruins the feel you just paid for.
- Check lever free play and adjust to spec. Too little free play can cause the brake to drag as fluid heats and expands.
Never touch a brake rotor or pads with bare fingers during install. Oils from your skin contaminate the friction surface and cause squealing and uneven grab. Wear nitrile gloves and clean rotors with brake cleaner before assembly.
A master cylinder and caliper are a matched pair, not independent upgrades. Buy them as a system, match the hydraulic ratio to your skill and terrain, and you will feel the difference in the first braking zone.
Brake Fade Prevention and Bedding-In Procedures
Brake fade is the loss of stopping power when pads and fluid overheat, and it is preventable. The two main causes are pad glazing and boiled brake fluid, and each has its own fix.
Bedding in new pads follows a simple sequence:
- Find a safe stretch of open ground with no traffic
- Ride at moderate speed and apply the brakes firmly to slow, not stop
- Repeat 8-10 times, increasing speed slightly each pass
- Let the brakes cool completely before hard use
- Avoid holding the lever at a full stop during the process
Matching Brake Upgrades to Rider Skill and Terrain
The right brake setup depends less on budget and more on how and where you ride. A novice on tight trails and a pro on a fast track need completely different components.
Match the upgrade to your skill, not to the spec sheet. The fastest riders run setups they can modulate, not the biggest brakes on the market.
Conclusion
Building a brake system that stays consistent lap after lap takes the right parts and the patience to set them up correctly. Moto X Industries stocks the components to get you there, from conversion kits and racing wheels to the braking hardware that ties it all together. Our inventory covers motocross and supermoto builds, including parts for Surron and Talaria electric bikes, so you can source everything in one place.
Frequently Asked Questions
Are stainless steel brake lines worth the upgrade for motocross?
Yes, for riders seeking a firmer, more consistent lever feel. Stock rubber lines expand under high pressure, causing a spongy feel. Stainless steel braided lines eliminate this expansion, providing immediate improvements in brake modulation and stopping power. They are a cost-effective upgrade that significantly enhances rider confidence, especially during aggressive track riding or racing.
How often should I replace my motocross brake pads?
Replacement intervals depend on riding conditions, pad compound, and riding style. As a general rule, inspect your best motocross brake pads for racing before every ride. Replace them when the friction material is worn to the thickness of a credit card or less. Muddy, sandy, or highly abrasive conditions will accelerate wear, requiring more frequent replacements to maintain optimal stopping power.
What are the benefits of oversized brake rotors?
Oversized brake rotor kit benefits include increased surface area for better heat dissipation and greater mechanical leverage. This translates to stronger stopping power and reduced brake fade during long, intense motos. A larger rotor also provides more consistent performance under heavy braking, allowing for later braking points and improved lap times on the track.
Do aftermarket brake calipers improve stopping performance?
Aftermarket calipers can significantly improve stopping performance. Upgraded calipers often feature increased rigidity and larger piston sizes, which enhance hydraulic pressure and reduce flex under load. This results in improved brake modulation and lever feel. For electric dirt bikes, specific calipers are designed to handle the unique demands of high-torque drivetrains.
How do I bleed motocross brakes for a firmer feel?
Bleeding brakes removes air bubbles from the hydraulic system, which is crucial for a firm lever feel. Start by filling the master cylinder reservoir with fresh brake fluid. Attach a clear hose to the bleeder valve on the caliper and submerge the other end in a container of fluid. Pump the lever, hold it, open the bleeder valve, then close it. Repeat until no air bubbles appear in the hose.